Add vehicle
In this section, we explain how to add and configure a vehicle.
Vehicles that are equipped with a telematics unit are already entered in the table. However, you can add further offline vehicles to the administration at any time or create a new online vehicle if a device has been converted.
To do this, click on the  -icon in the main function bar.
You can enter all relevant data in the input mask that opens. You will find a list of categories on the left-hand side.
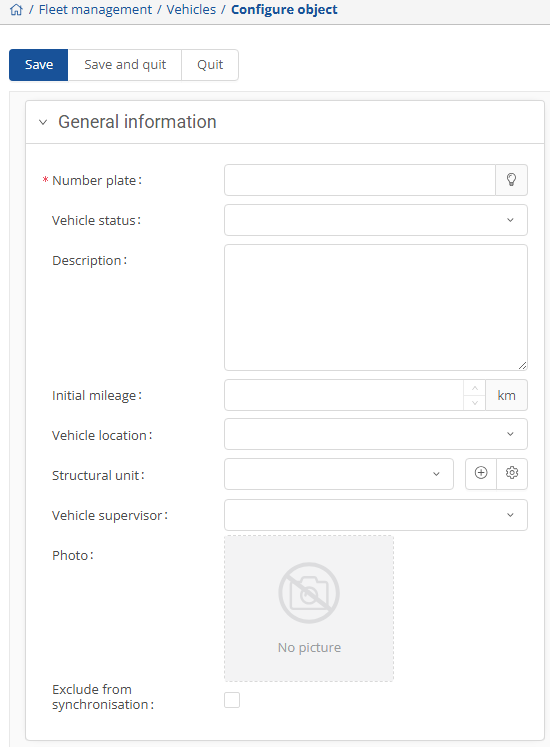
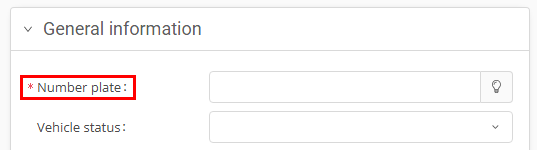
Click on a category to jump directly to the corresponding input fields. All mandatory fields are marked with a red asterisk.
|
Object name |
The object name is used as the display name for the vehicle. You can give the vehicle a specific name or use the license plate number as the object name. |
|
Main driver |
Select a main driver for the vehicle. Drivers must be created in the user administration in advance |
|
Vehicle use |
Here you must specify whether it is a personal vehicle or a pool vehicle. |
Next to some selection fields (e.g.: Vehicle classification under Management) you will find a cogwheel symbol. This means that you can make changes to the available options.

In the window that opens, you can add new entries and edit or delete existing ones. You can also click on an entry and transfer it directly to the selection field using the  -button.

Once you have entered all the necessary information about the vehicle, you can save all changes by clicking the  -button and return to the overview.
If you do not wish to save your entries, click on Close and then on No.
