Edit vehicle
If you want to edit a vehicle, click on the corresponding line in the table to select the vehicle and then on the  -button in the main toolbar.

In the input mask that opens, you can make the desired changes as described under Add vehicle and save them using the  or
or  -button.
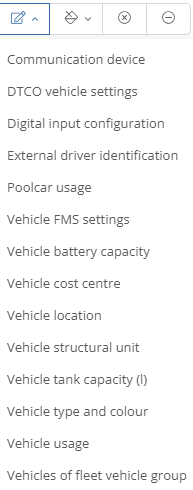
If you have activated the multi-selection mode (see table function bar), you can edit certain details for several vehicles at the same time. To do this, select the vehicles, click on the  button in the main toolbar and then select the data category you want to edit from the drop-down menu.
You can make and save the desired change in the window that opens.

ATTENTION: Please note that the change is made for all selected vehicles. Before editing, check that only vehicles to which the same information applies to the selected data category have been selected.
Duplicate vehicle:
To duplicate a vehicle, select it and click on the "Duplicate" button.

When duplicating, all data and settings are transferred except for the IMEI and the device configuration. This function is mainly used when changing vehicles or when creating several identical vehicle entries. When you duplicate a vehicle, the input screen opens in which you can edit and save the vehicle data as described under Add vehicle.
Archive vehicle:
If a vehicle is no longer used (e.g. due to a vehicle change), but you do not want to delete the vehicle data, you can archive the vehicle. To do this, select the vehicle, click on the Archive button in the main toolbar and then confirm with "Yes".

ATTENTION: No new data is transferred for archived vehicles. You can only view the historical data. An archived vehicle cannot be edited. However, it is still possible to store receipts and documents for the vehicle in the vehicle view.
Archived vehicles are marked with a lock in the overview:  .
.
Delete vehicle:
If a vehicle is no longer used and you no longer need the vehicle data, you can permanently delete the vehicle from the system. To do this, select the vehicle in the table, click on the Delete button in the main toolbar and confirm with "Yes".

ATTENTION: If you delete a vehicle from the list, you cannot restore it and can no longer view the vehicle data.
If you are changing vehicles but want to keep your GPS device, this is not a problem. To do this, select your vehicle and then click on the  -button.
Then go to the Locating device item in the editing window
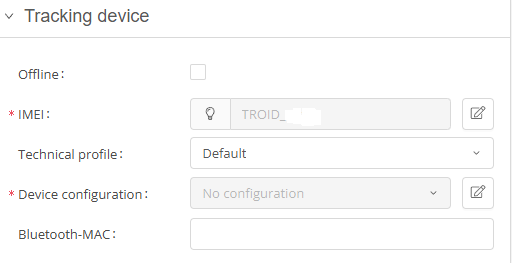
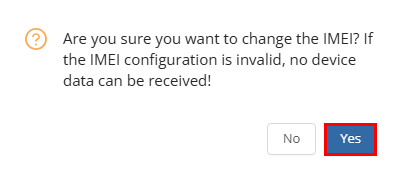
Now click on Edit IMEI ( ). The system will then ask you whether you really want to change the IMEI. Confirm the entry with
  .
.
Copy the IMEI and enter it in the description for possible tracking.
Then check the box next to offline.
You can now save your entries and close the view.

Once you have done this, you will find yourself in the Fleet Manager overview. Now select the  -button and enter your new license plate number under License plate (if it is the same, please distinguish it with a space or a hyphen, otherwise it will not be possible to save it). Then enter the name of the main driver.
Enter the starting mileage when installing the GPS system and enter the previously copied IMEI.
INFO:
As soon as the GPS box transmits a GPS point (power supply required), the vehicle jumps to the current position on the map, as long as you can see it in front of Africa.