The table toolbar
The table toolbar contains all the important functions that affect the table. The extensive functions are explained in the following chapter.

The selection mode:
The system distinguishes between "Single" selection mode and "Multi" selection mode.
You can change the selection mode using the slider on the table toolbar. To do this, click on the slider.
|
|
|


In "Single" selection mode, you can only select one vehicle at a time in the table by clicking anywhere in the row of the vehicle. The selected vehicle is highlighted in gray and marked in the selection column on the left-hand side.

You can select several vehicles in "Multi" selection mode.You can select the vehicles in the selection column on the left-hand side with a single mouse click. The selected vehicles are highlighted in gray and marked with a tick in the selection column.

If you want to select several vehicles one below the other, you can select the first vehicle and then click on the last vehicle to be selected while holding down the Shift key. This will automatically select all vehicles between the first and last selected vehicle.
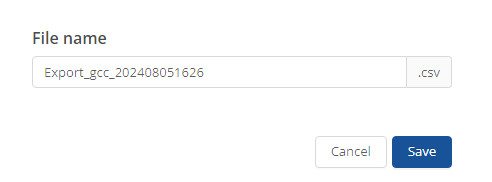
File Export:
Click on the  -icon to export the table as a CSV file.

In the window that opens, you can change the file name and complete the export by clicking on the  -button.
Empty filter:
You will find a filter symbol next to some column headings. If you click on this symbol, you can filter the table according to certain properties from the selected column. Depending on the column content, you can either enter a search term or select individual properties from a list.

Only the vehicles that match the selected criteria are then displayed in the table.
You can use the  -symbol to delete all selected filters so that all vehicles are listed in the table again..

Cell editing mode:
You can activate the cell editing mode to quickly edit certain cells. To do this, click on the  -icon.

If the mode is activated, all columns that can be edited directly are marked with a pencil symbol. Double-click on the corresponding cell to open the editing window.

Lines per page:
Click on the  -icon to select the number of lines per page from the drop-down menu that opens.

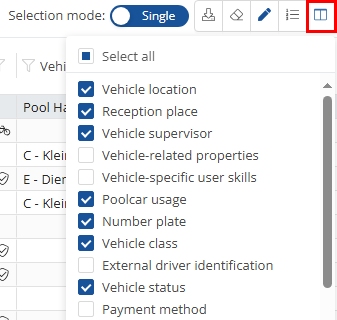
Columns:
Click on the  -icon to select which columns should be displayed in the table. In the drop-down menu that opens, you can simply click on the listed columns to select or deselect them. Selected columns are marked with a blue tick.
Adjust column width to content:
Click on the  -icon to adjust the column width to the content.

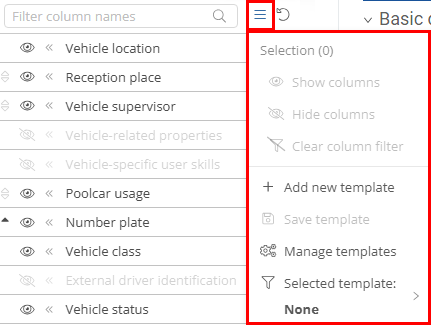
Save view settings:
Click on the  -icon to save your current view settings. As long as no changes have been made, this icon is grayed out.

Reset view to default settings:
Click on the  -button to reset the view to the default settings.

Advanced filters:
Click on the  -icon to narrow or expand the view of the table. Here you can select the columns to be displayed.
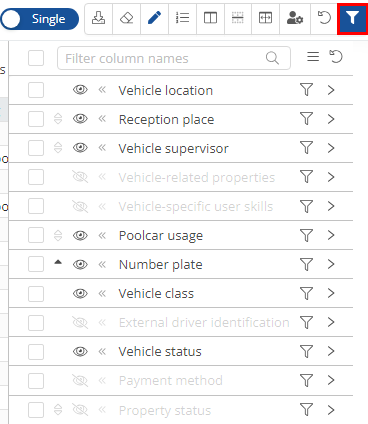
By selecting or deselecting the column names, you can decide whether the columns should be displayed or hidden. The column filter can also be cleared.
Sort column contents:
In the table, you also have the option of sorting the vehicles in descending or ascending order according to the content of a specific column. To do this, click on a column heading with an arrow symbol.

If you click once on the column header, a gray arrow pointing upwards appears instead of the two white arrows ⏶. The vehicles are then sorted in ascending order according to the content of the corresponding column.
If you click on the heading again, a gray down arrow appears ⏷and the vehicles are sorted in descending order according to the column content.
Click on the heading again to cancel the sorting.