The main toolbar
In the main function bar you will find all the important actions that can be carried out for one or more selected vehicles or persons.

Adding:
To add something, select the  -button. A window then opens where you have the option of creating and configuring new objects.

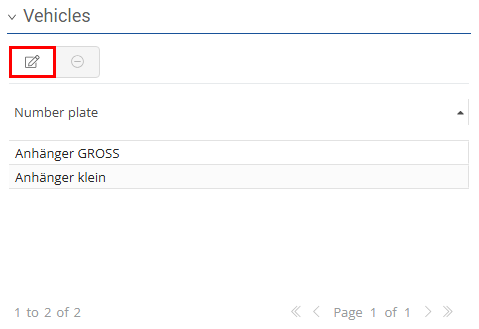
Editing:
To edit an object or a driver, select the  -button. The window that then opens allows you to edit the settings of the selected object.

Duplicating:
You can use the  -button to duplicate an existing object. The data of the object to be duplicated is opened in a new configuration and can be finally adapted for a new object.

Archiving:
If an object has not been used for some time but you do not want to delete the object data, you can archive the vehicle using the  -button. Archived objects are marked with a lock in the overview:
  .
.

Deleting:
To delete an object, you can do this via the  -icon. All object-related data is then deleted and cannot be restored.

Refresh:
If you have made changes or selected a filter, the list of objects must then be updated using the  -button.

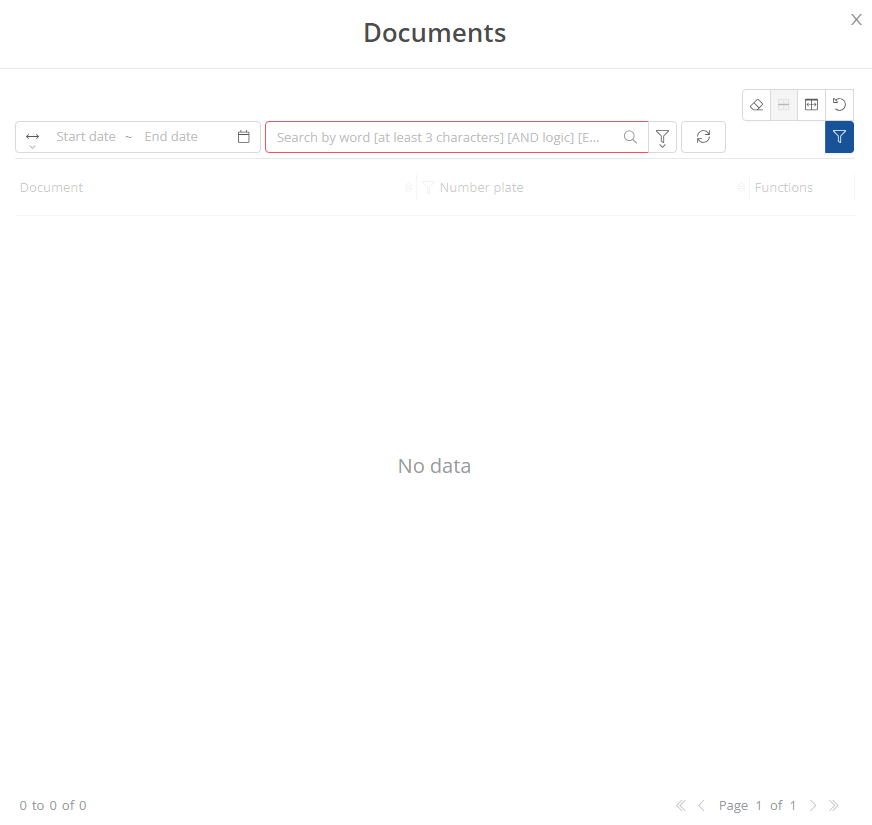
Document search:
To find a specific document quickly, you can access the document search via the  -button. There you can enter keywords in the search field without having to select a vehicle from the list first.

Time intervals and search terms can be entered in the window that now opens.
You can use the filter function to select which vehicles are to be displayed. You can choose from various filter methods.
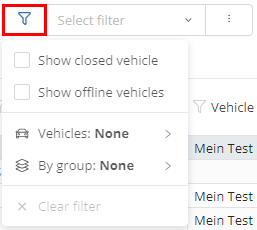
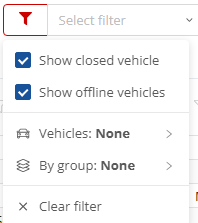
If you click on the filter icon in the main toolbar, you can select from the drop-down menu whether closed and offline vehicles should be displayed. To do this, place a tick in the corresponding field. You can also select specific vehicles or a vehicle group here.
Filter by vehicle selection:
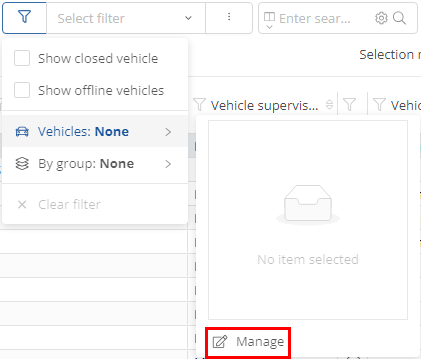
To display only certain vehicles, click on Vehicles: None and then on manage.
In the list that opens, you can click on the vehicles you wish to select. Selected vehicles are marked with a tick. You can then use the arrows to add or remove the selected vehicles from the selection. Confirm your selection by clicking on the  -button.
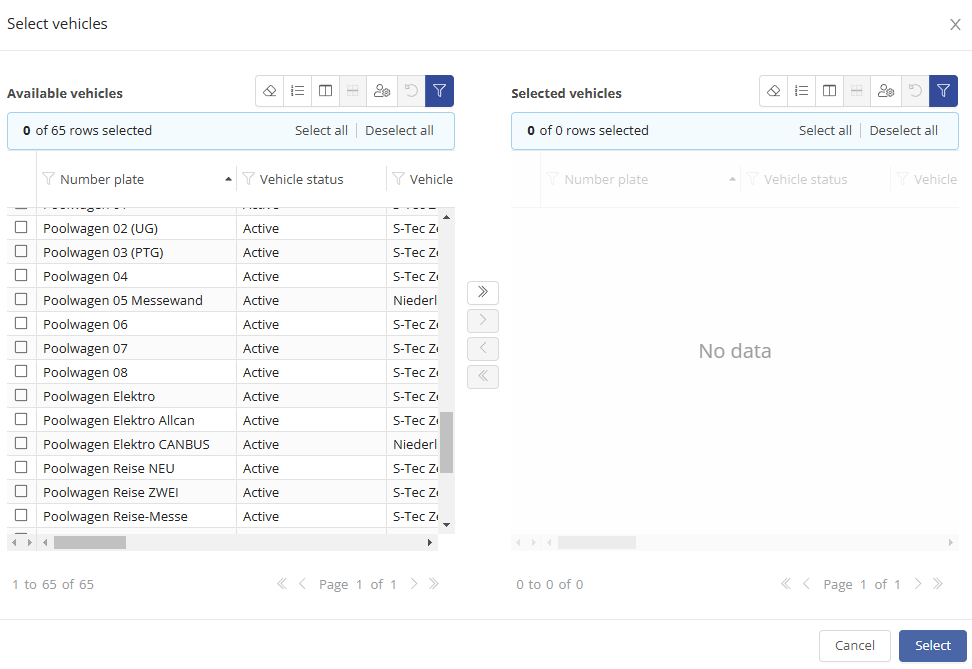
Only the vehicles you have selected will now be displayed in the table.
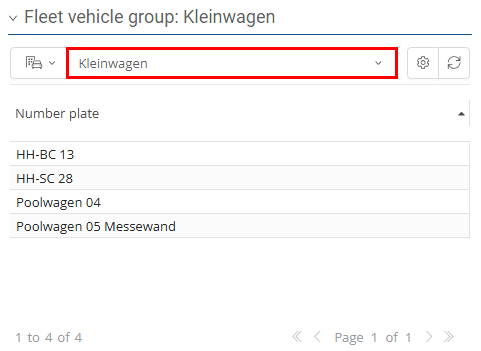
Filter by vehicle groups:
To select a vehicle group, click on Vehicle group: None and then click Select vehicle group. In the window that opens, you can then select the desired vehicle group from the drop-down menu. Vehicle groups must first be created in the system.

Only the vehicles in the selected vehicle group are now displayed in the table.
Select custom filter:
In the selection field, you can select a previously created filter from the drop-down menu. To do this, click on the field and then on the filter name.
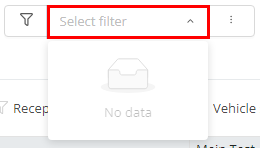
If a user-defined filter is active, the filter symbol appears red.

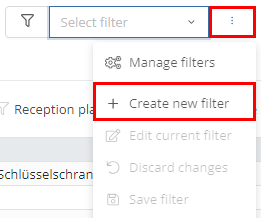
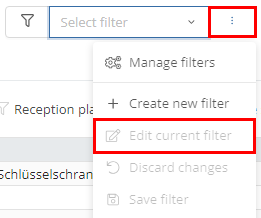
Manage filters:
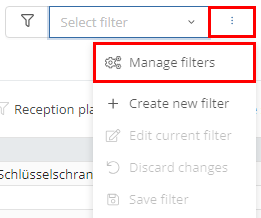
Click on the tick or (if no user-defined filter is active) the three dots to open further filter options. Here you can manage, add and edit filters.
Select Manage filters to open the filter overview.
In the view that opens, you will see a table. This shows which vehicles are displayed under the respective filters (archived/closed, offline or inactive). You can add, edit or delete filters using the function bar.
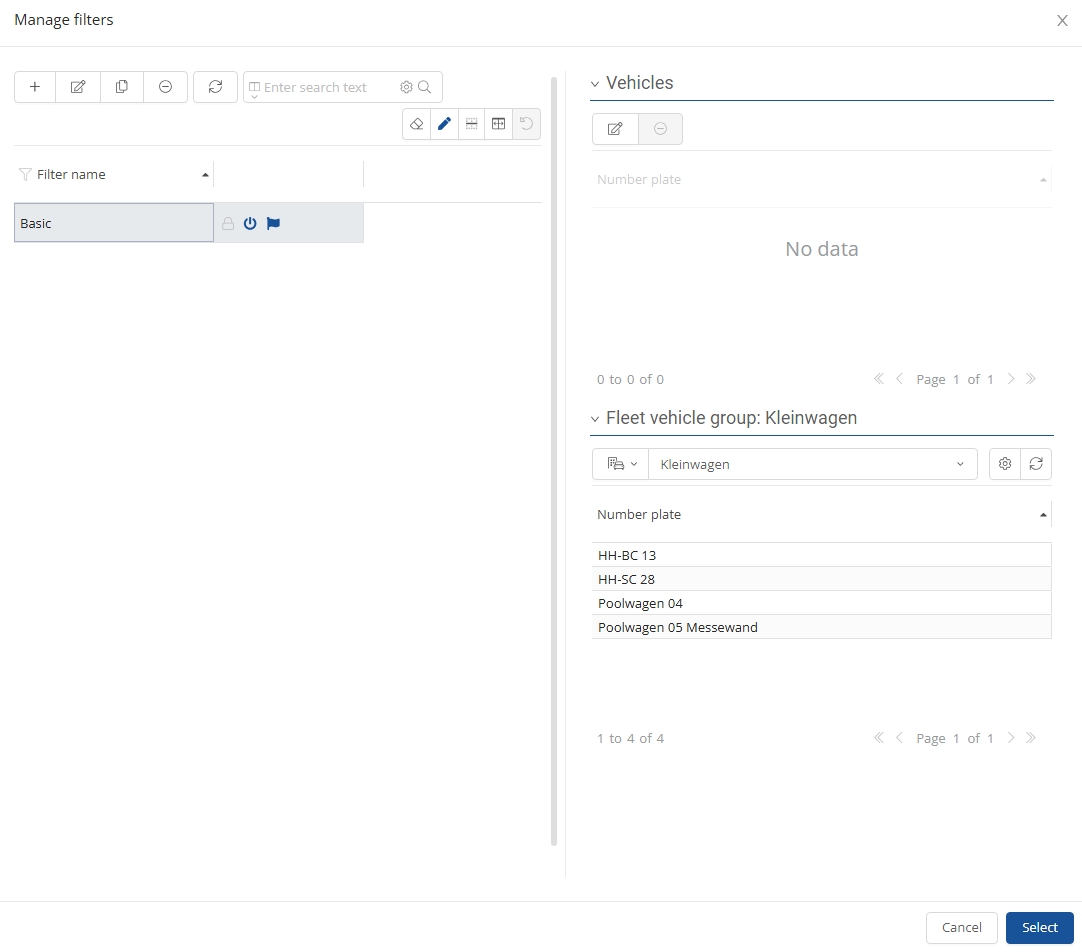
The individual vehicles or vehicle groups included in the filter can be edited using the -symbol.
Vehicle groups of the filter can be selected via the drop-down menu. Any changes made are saved automatically.
Create new filter:
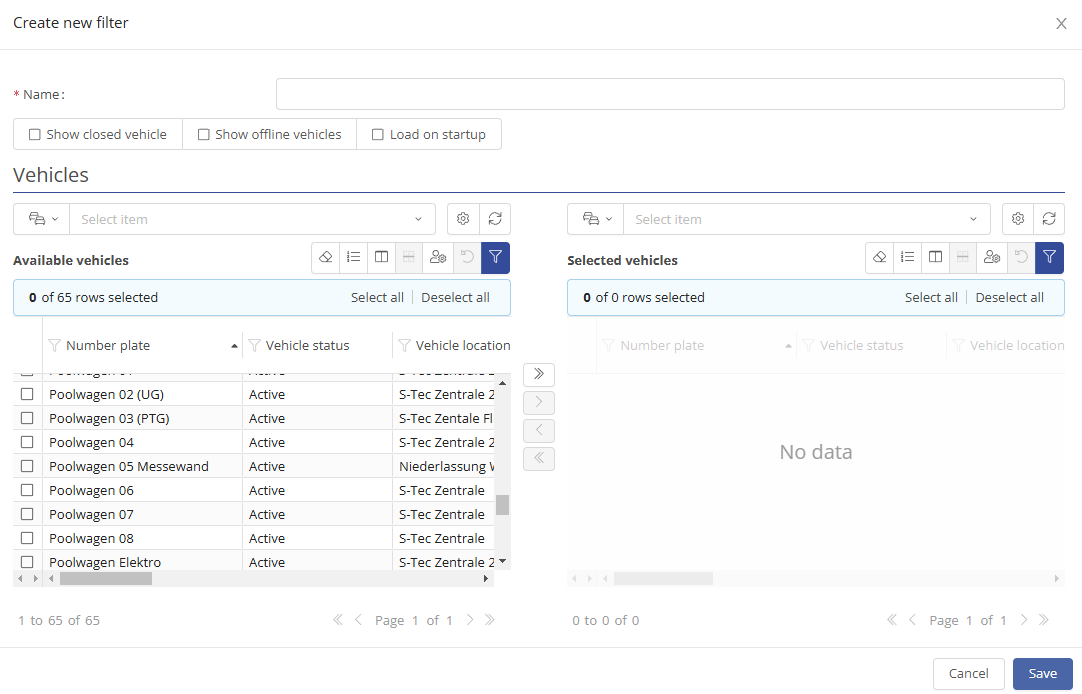
Select "Create new filter" in the filter options to add a new filter.
In the input screen that opens, you can specify a name for the filter, determine which vehicle type should be displayed in addition to the active online vehicles and add individual vehicles or vehicle groups for selection.
Edit current filter:
If a filter is active, you can edit it via the filter options under "Edit current filter".
In the input mask that now opens, the same options are available as when creating a new filter.
You can also make changes to an active filter by clicking on the red filter and changing the selection as described above.
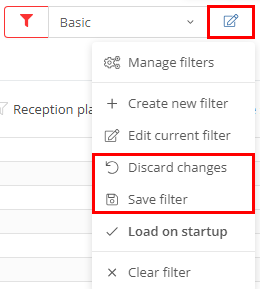
If you want to save the changes you have made to the filter, click on the pencil icon to the right of the selection field and then on "Save filter".
If you want to discard the changes, click on the pencil icon and then on "Discard changes".
To clear the filter, click on the filter icon or the button to the right of the selection field and select "Clear filter".
Search:
You can use the search field in the main function bar to search for vehicles whose cells contain a specific text.
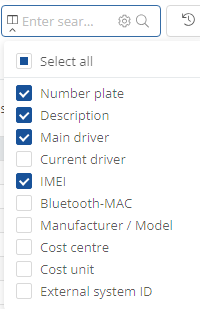
Click on the drop-down menu of the search field selection ( ) to select which columns are to be searched. You can then enter your search text in the text input field.

Driver's logbook:
In the main toolbar, you will also find a direct link to the logbook of the selected vehicle. However, this is only available if you have selected the corresponding tariff and have the necessary authorizations.

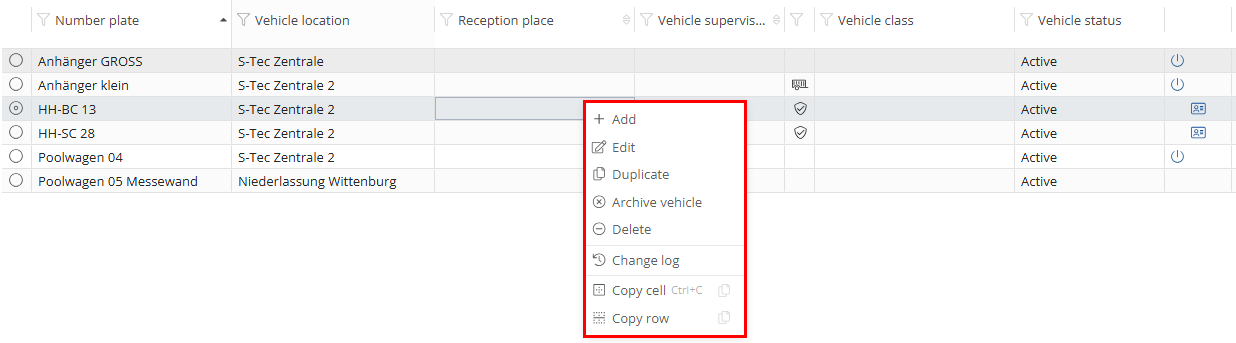
Tip: Many functions of the main toolbar can also be executed by right-clicking on a row in the table.