Keychain overview
To create these corrections for one or more vehicles, click on “Fleet manager” in the menu bar at the top, which opens a drop-down menu, including the sub-item “Vehicles”, which you click on.
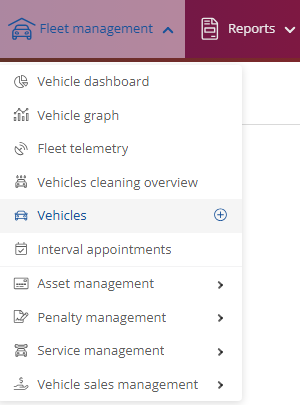
The equipment for a single vehicle:
To set up an individual vehicle, select the desired vehicle.

Then click on the pencil  to switch to edit mode.
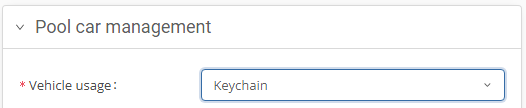
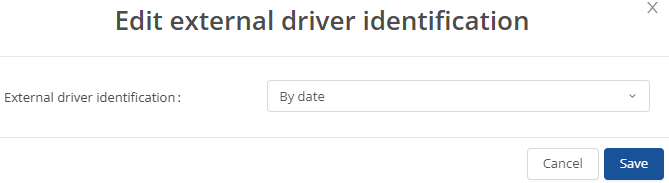
Under the main item “Driver” you will find the field with “External driver identification”, where you select “by date”

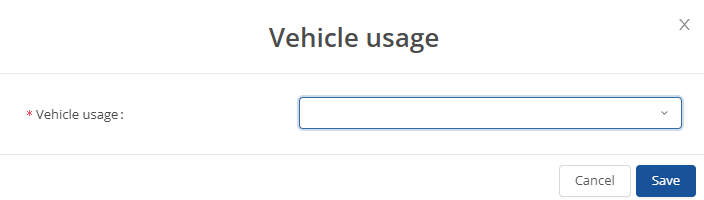
Next, select the digital key ring under the main item “Pool car management” under the item “Vehicle use” and save your setting.
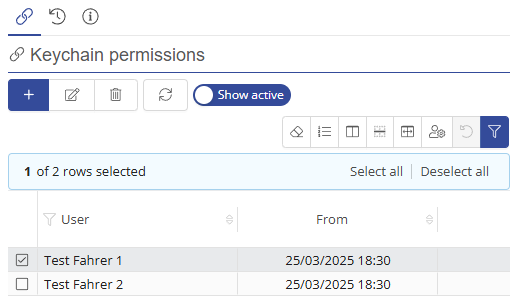
You can now select the vehicle for which you want to add the authorized users. To do this, select the vehicle and click on the arrow in the menu bar at the top right to select the newly displayed symbol for the key authorization.


You can now add a correction via the  .
.
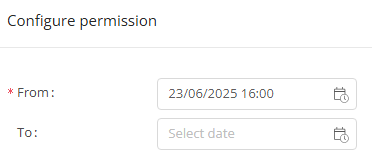
To do this, select the desired period for which the vehicle is to be authorized for the user. Without a specified period, the authorization is automatically stored indefinitely.
Move the desired users from the availability to the selection by clicking on the individual arrow and saving the setting. ( Attention: If you double-click the arrow, you will move them all!)

(To store different authorization periods for the users, repeat the selection with the corresponding user. (Select period, select user and move to availability)).
In the vehicle overview of the selected vehicle, you can see the different authorization times of the individual users.
The facility for several vehicles:
To set up several vehicles, stay with “Vehicles” and switch from the ‘Single’ selection mode to the “Multi” selection mode in the top menu bar.


Select the vehicles that you want to assign to the digital keychain. 
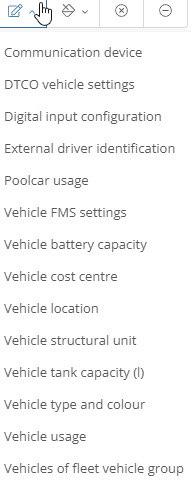
Then click on  (edit), which opens a drop-down menu where you click on “Vehicle usage”.
A window will then open where you can also select the digital keychain when using the vehicle.
Finally, select the pencil again, but now select the external driver identification, where “by date” should be stored again and save this setting too.

Keychain overview
Setup and deposit
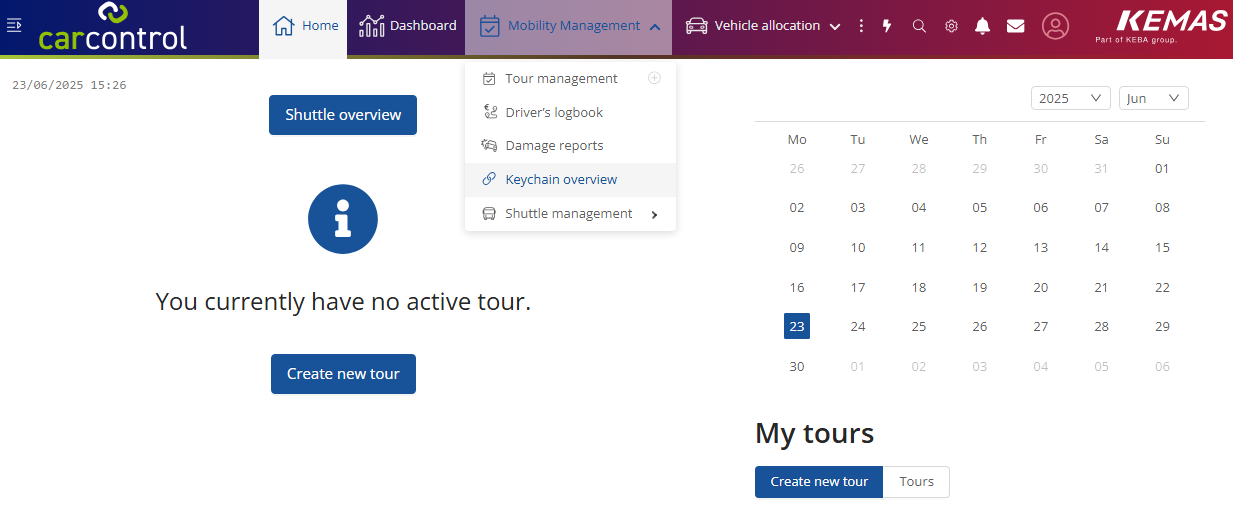
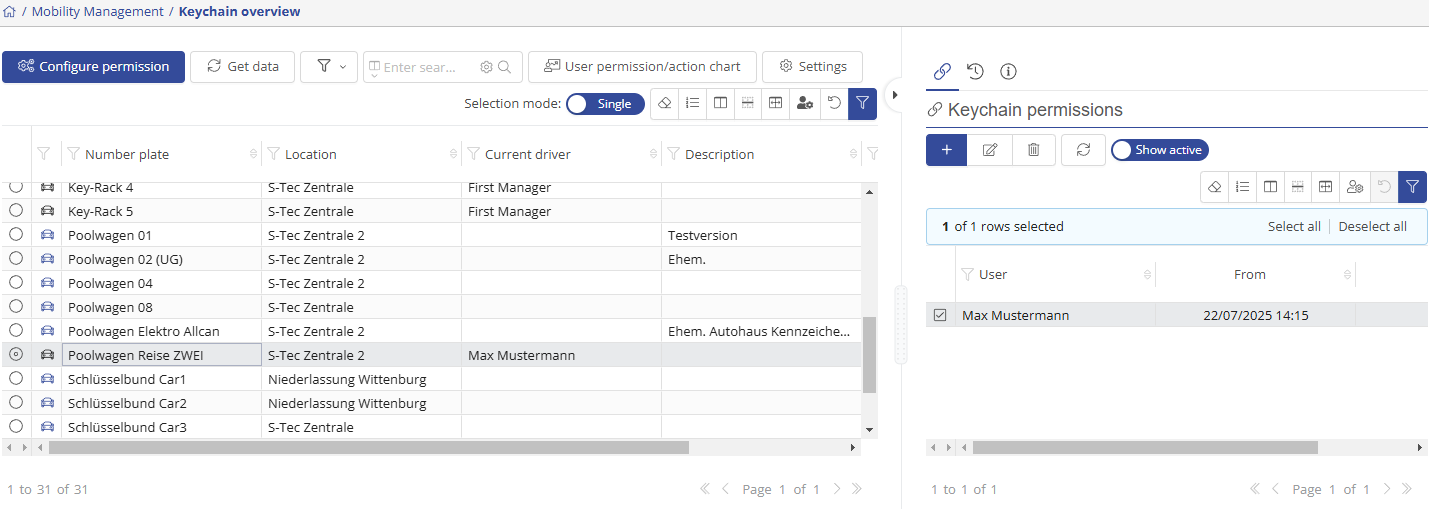
To view the digital keychain, click on Mobility management in the menu bar and on Keychain overview in the drop-down menu.
This will open a new window where you will see an overview of the vehicles and their authorizations.

If you click on the desired vehicle, you can view the various authorized drivers and their authorization periods on the right-hand side.
In the middle of the menu bar you will find the “User permission/action chart” selection field.

After clicking on this field, you will be shown an overview of the usage of the selected vehicle.

Select a period or leave the predefined timeline for the last month, the current month and the coming month (period of 2-3 months).
The yellow line will show you the planned usage time of the driver on this vehicle.
The green line will show you the actual usage time.
The blue line will show you the authorization time for the driver.