Edit period
The tours for the selected period are displayed in the overview. The most recent tour is at the top. If you click on a tour, the route is displayed on the right-hand side of the map.
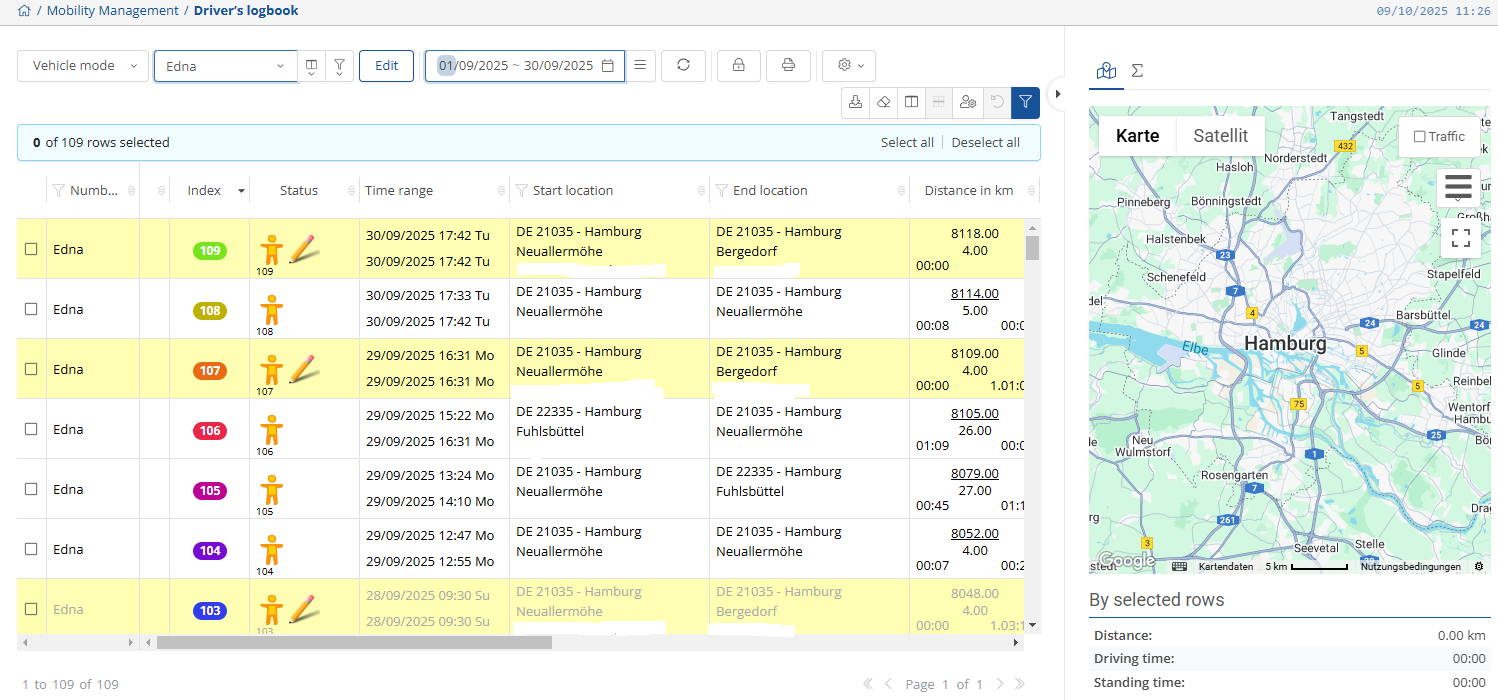
To make changes or additions to your logbook, click on . All tours for the open period are then displayed in the logbook table.

The following symbols are used in the table:
|
|
Private tour |
|
|
Travel between home and workplace |
|
|
Business tour |
|
|
Business tour without description (Period cannot be closed) |
|
|
Business tour without description (Period cannot be closed) |
|
|
Automatic drive |
|
|
Manual drive |
|
|
Phantom tour |
|
|
Description available |
|
|
Routes are connected |
|
|
Split tour |
|
|
Private switch tour (no change possible) |


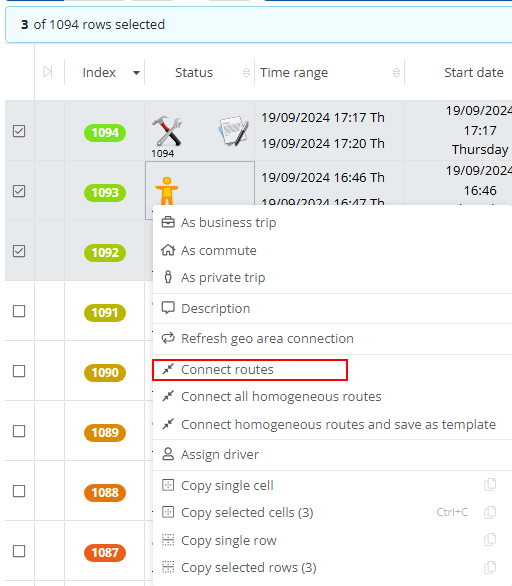
Connect routes:
Select several consecutive tours by clicking on the box at the beginning of the line of an individual tour. If a tour is selected, a tick appears in the box. Select at least one more tour. Then right-click on one of the selected tours and select Link routes.
Only one tour now appears in the logbook. The start location and start time are taken from the oldest tour. The destination location and time are taken from the most recent tour. The kilometers of all tours are added together.
To disconnect a connected route, right-click on the route and select Disconnect.

We recommend that you only combine private tours. Combining business tours can lead to problems with the tax office, as receipts such as fuel receipts can no longer be clearly assigned for combined routes.
Save period:
To save the edited period, select the  icon from the main toolbar and then confirm with
  . To not save the edit, select
  .
.
Once you have made and saved all changes to the logbook period, you can close the period.
You can only close a period if you are editing it in vehicle mode
No further changes can be made to a closed period.
If you are not using a CanClick extension, which is indicated by the underlined mileage in the logbook, the mileage must be adjusted before closing.
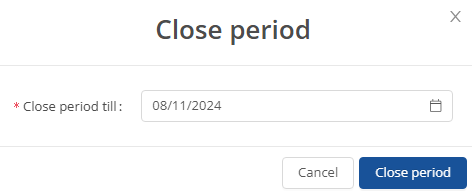
Click on the  button to close the period. Another window then opens where you can select the last day to be included in the closed period. This day must be in the past. Click on
  to save and close the period.

If you have closed at least one period, you can display your closed periods by clicking on the  .
.
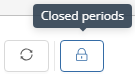
In the overview that now opens, you can select a period and view it in the driver´s logbook table.
