Role management
Authorizations for individual roles can be managed in the role administration.
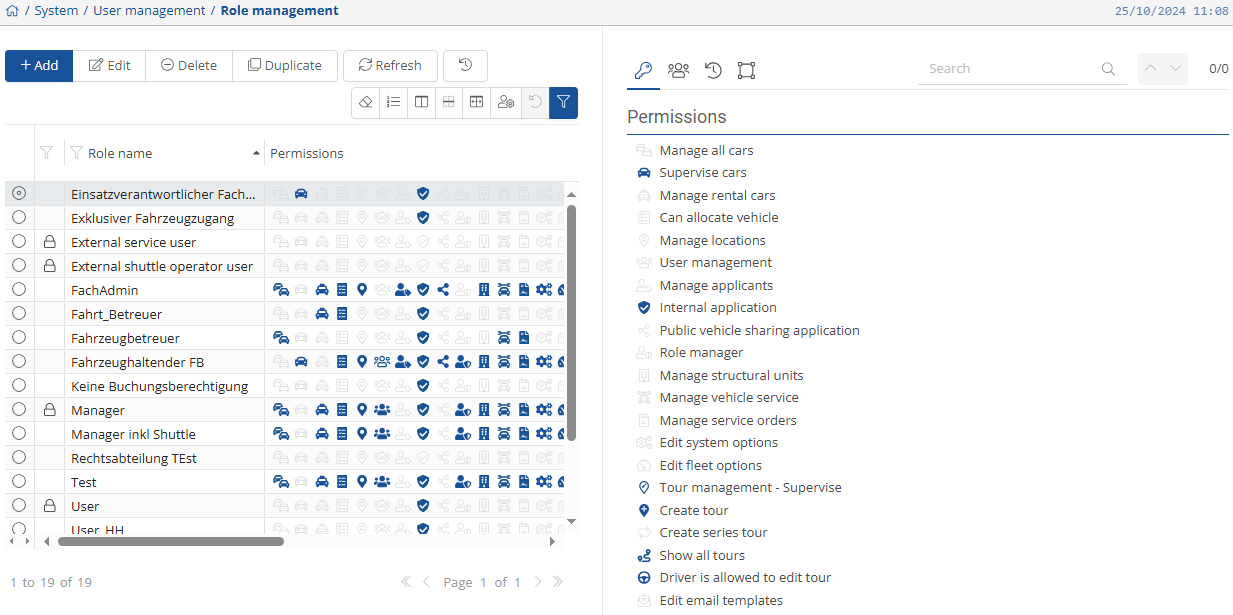
At first glance, you can see all roles with the corresponding permissions in the table view.
To add a role, click on the  -button.
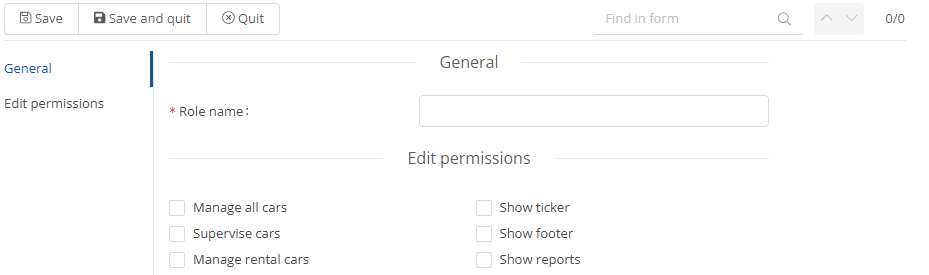
You can now give the new role a role name; this is a mandatory field.
Then tick all the authorizations that the new role should have.
Once you have done this, you can save the settings using the button  or save them using the
 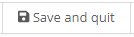 -button and close the settings window directly.
To edit a role, select the  -button. A window similar to the one for adding will then open and you can edit the role name and authorizations.
Use the  -button to delete the selected role from the list.
To duplicate a role, select the corresponding role and then select the 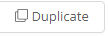 -button. An add window now opens where the default settings are already noted. A role name must now be assigned and you can make further authorization adjustments.
Roles marked with a lock ( ) are system roles and cannot be edited.
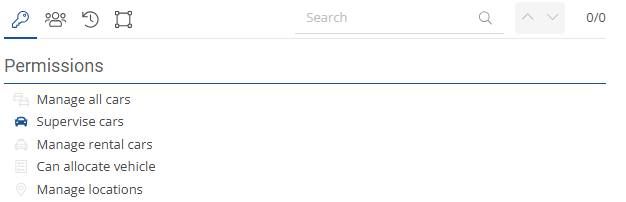
In the detailed view, you can see the authorizations for the selected role
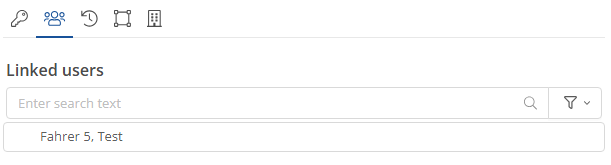
and the linked users.
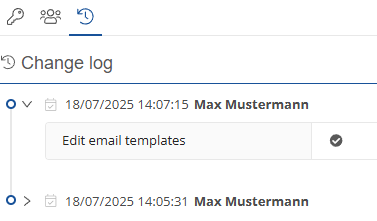
The change history and who changed what.
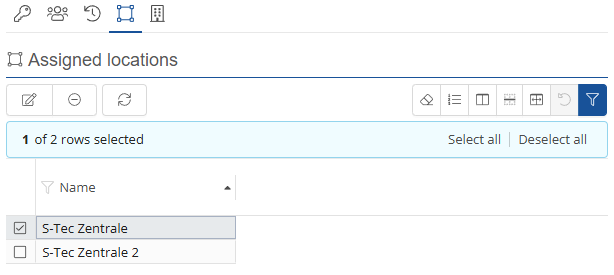
The linked locations, which can also be edited  , or removed
  .
.
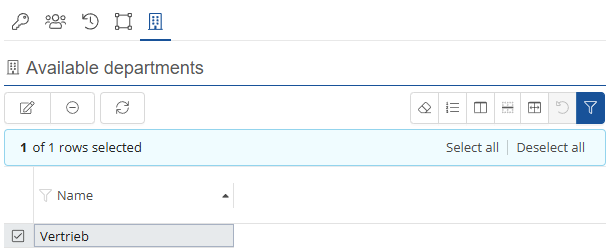
As well as the available departments that can be edited or removed.