Vehicle view - Section 4
Section 3:

In the third and final section, you have access to various data and information that does not fit into the previous chapters.
Contract data:
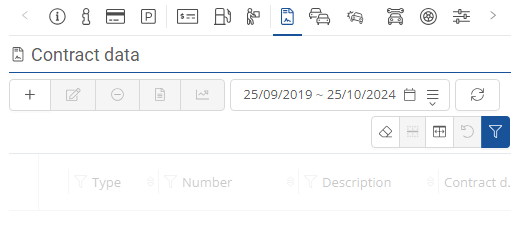
All data on leasing contracts, taxes, insurance, etc. can be entered in the contract data. By selecting the time interval, you always have an overview of the exact costs of the contracts for the individual vehicle.
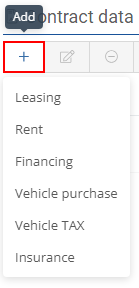
By clicking on the  -icon, a drop-down menu opens where you can select which contract data you would like to add.
When you select a contract, a new window opens where you can enter all the necessary information.
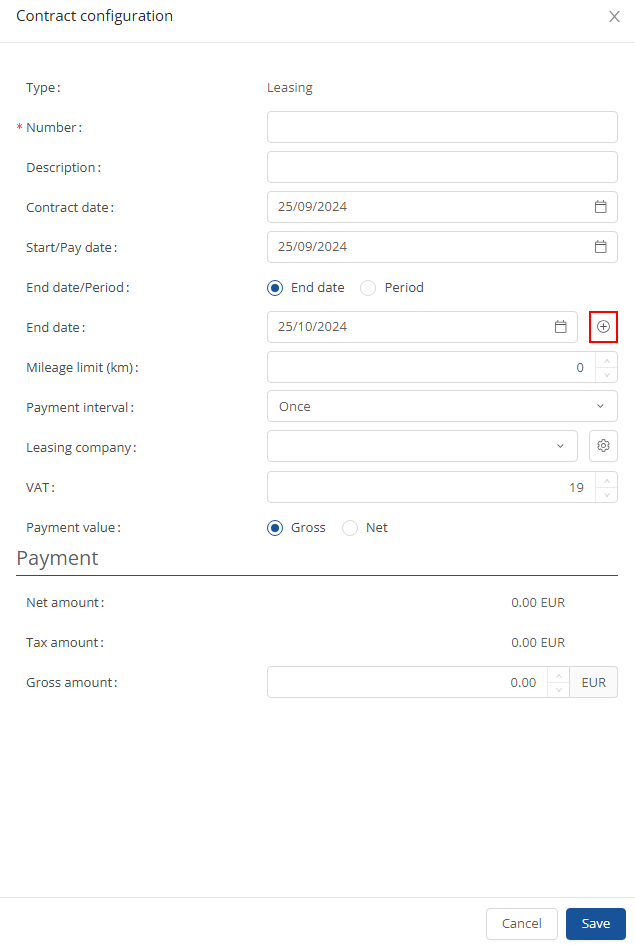
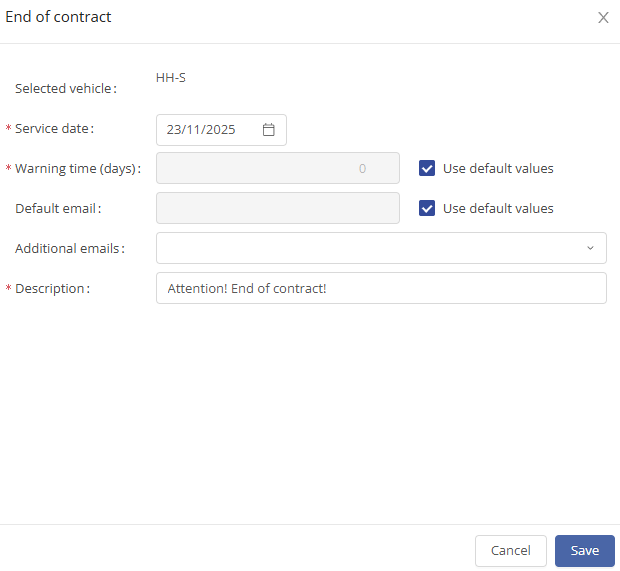
By clicking on the  -symbol, you can enter a contract end date and a warning time, at which point you will receive an e-mail reminder.
If you want to edit the data of a contract, click on the  -icon and the same page will open as when creating a contract.

If you want to delete a contract, you can do this by clicking on the  -symbol. You will then be asked to confirm the deletion. Click "Yes" if you are sure.

To view or upload the documents of a contract, select the desired contract and click on the  -button. There you have the option of creating, uploading or viewing a document.

In addition, a mileage graph can be displayed to show how many kilometers are actually driven per month. To do this, click on the corresponding  -symbol.

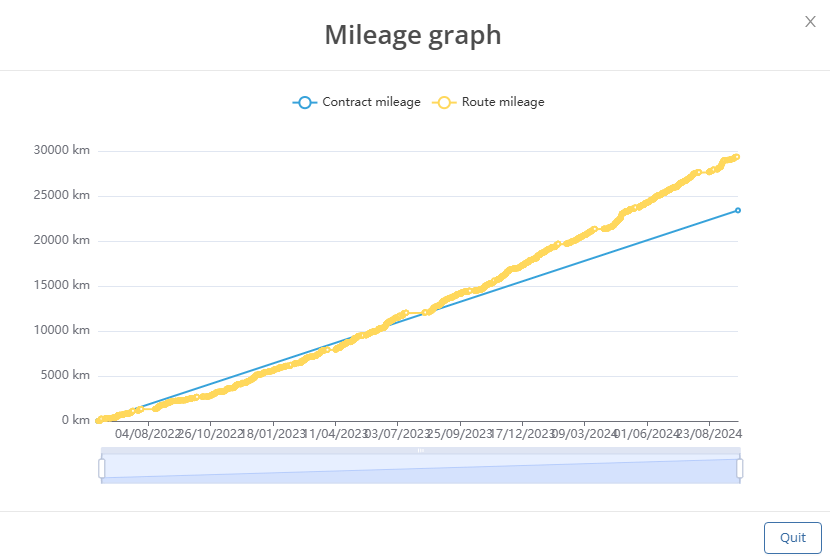
By dragging with the mouse, you can select an exact time in the gray area.
By selecting a time interval, you can see when a new contract has been added.

Click on the  -symbol to open a calendar. It is also possible to enter a time interval.

Time interval templates are also included, which can be edited using the cogwheel symbol. The  -icon can be used to create and save a new template according to your requirements.

Time based vehicle appointments and bookings:
In the next menu item of the vehicle view, all vehicle bookings, you will see all reservations for the vehicle and can also make new ones.
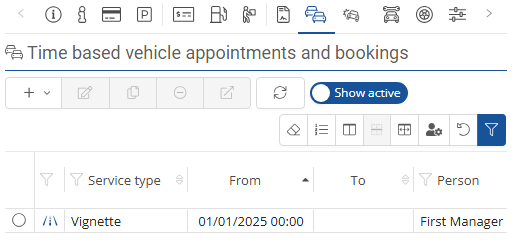
You can use the slider to differentiate between active and all pool car reservations.
|
|
|


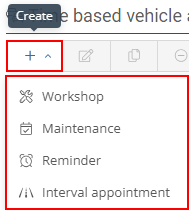
You have the option of making a new reservation via the  -symbol. You can choose between driver-vehicle assignment, workshop and maintenance.
You can use the  -symbol to select a time interval to be displayed.

Selecting the driver/vehicle assignment takes you to the vehicle reservation page. There you can see all the important data at a glance and make a few more settings.
When you enter an appointment for the workshop or maintenance, a window similar to the driver/vehicle assignment opens. However, here you only need to enter when the vehicle is not available for use. You must then click on  again.
You can edit or delete entries as usual using the familiar  - and
- and  -buttons.
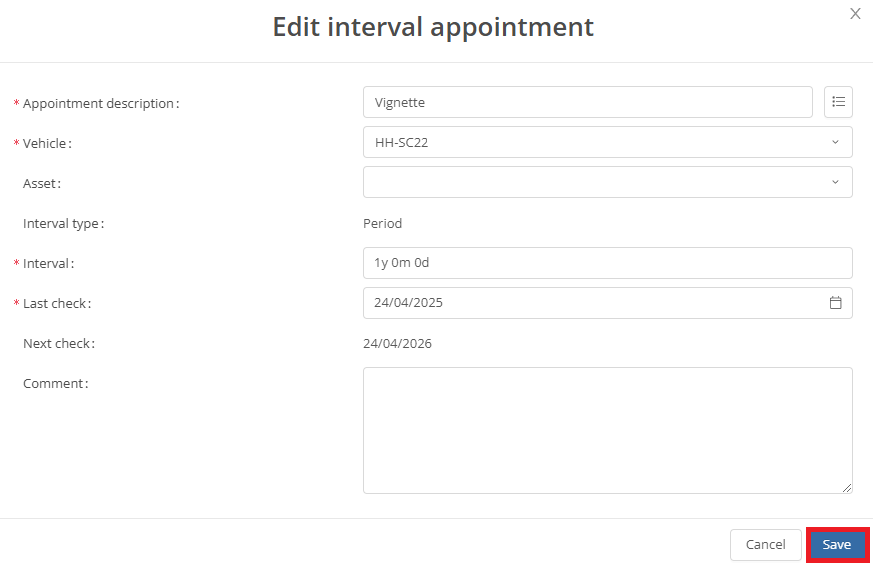
Interval appointment mileage:
Interval appointments can be add  , edit
  , stored and managed here.

Damage report:
In the damage report area, you will see the damage reports entered for the corresponding vehicle.

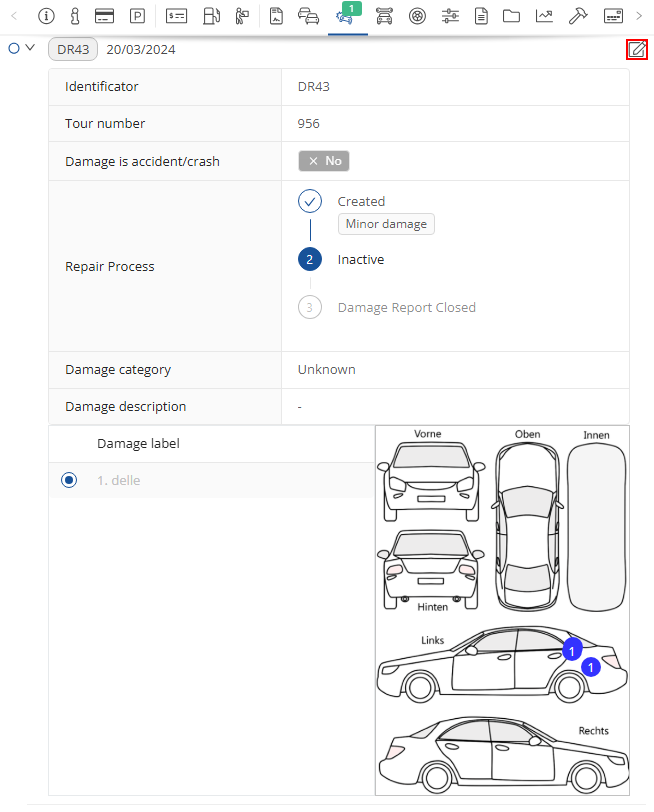
By clicking on the  -button, you have the option of editing the damage report that has already been created.
You can use the slider to differentiate between active and all damage reports.
|
|
|


If you want to view all damage reports, you can select the desired time interval from the calendar.
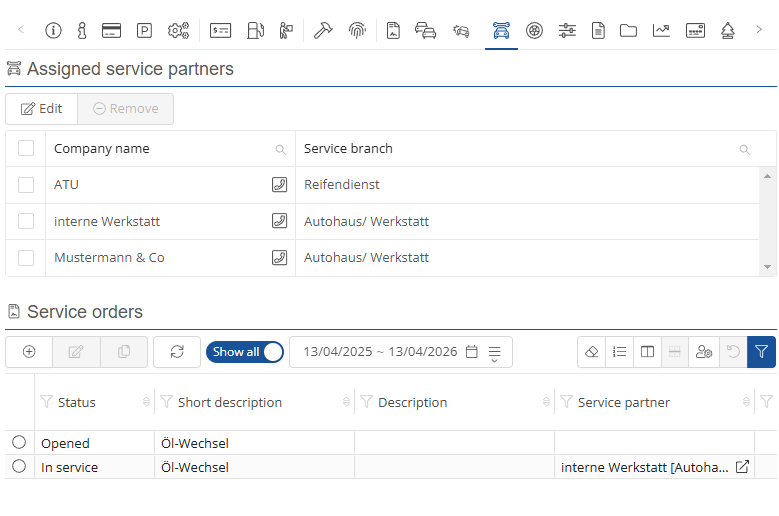
Assigned service partners:
The service partners specified for the vehicle are displayed under Repair and maintenance.
Tire information:
Various settings can be added and managed.

If you wish to save information and settings, click on  .
.
D-IN setting:
In the D-IN settings, you can see how the digital contacts are connected in the selected vehicle.
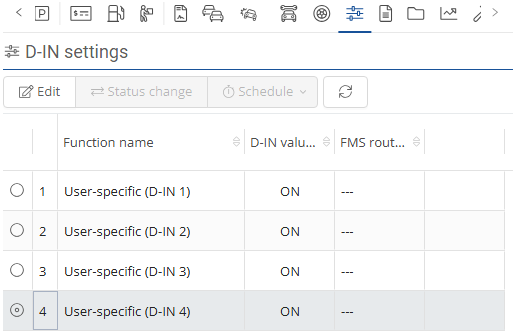
If a telematics unit with digital contacts is installed in the selected vehicle, you can configure the digital contacts in the D-IN settings category. For existing online vehicles, these configurations have already been carried out by our support team.
ATTENTION: The configuration of the D-IN contacts has a significant effect on the function of the system. Therefore, please contact our support team if you wish to make any changes.
Documents:
You can store all vehicle-specific documents in the Documents folder. Click on "New document" to open the editor.
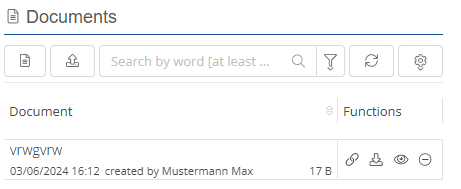
Alternatively, you can upload a file. To do this, click on Switch to file upload.

You can now drop the file in the field displayed or click on the field to select a file for uploading.

In the document overview, you can click on the respective symbol under Functions:
- Generate a link to the document
- Download the document
- Display the document
- Delete the document

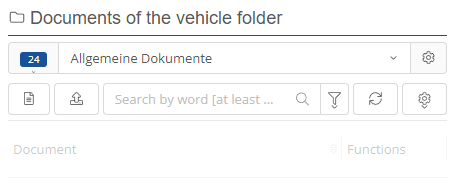
Documents of the vehicle folder:
General documents can be stored and managed here as a folder structure.
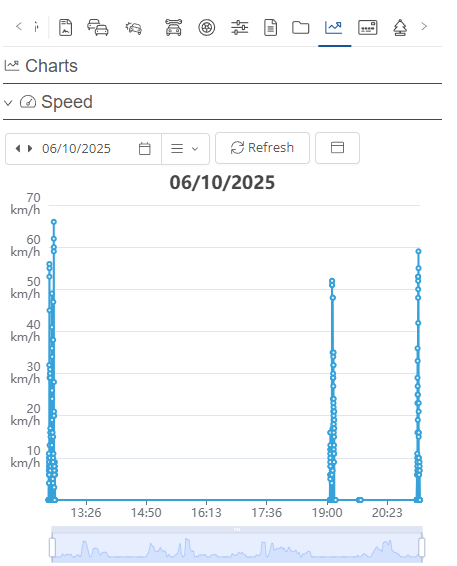
Charts:
Under Charts is the speed chart, which can display the speed for the day.
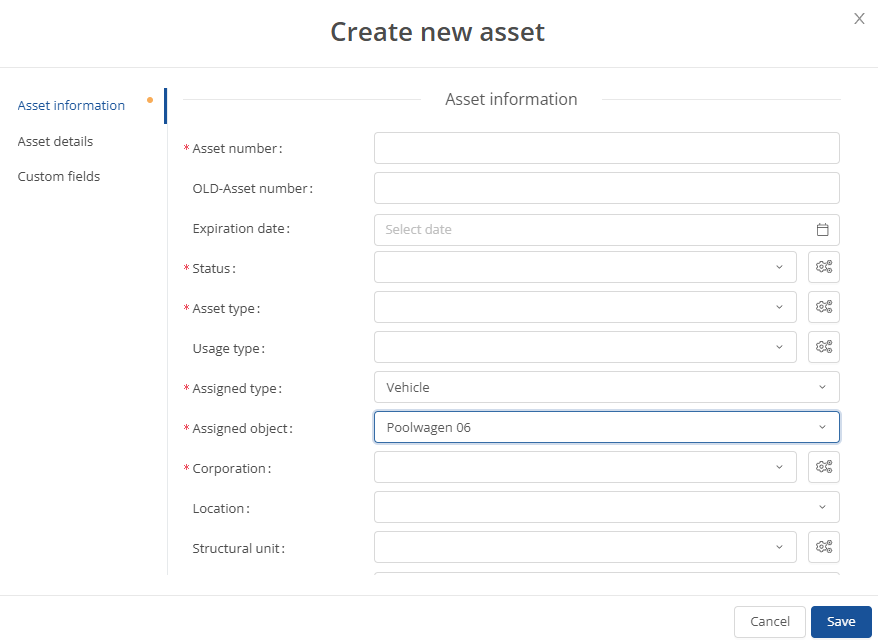
Assigned assets:
Charge cards and fuel cards can be stored and managed under assigned cards.
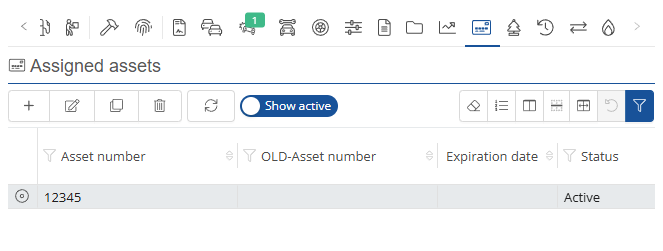
New cards can be added under  , edited under
  , duplicate under
  , deleted under
  or updated under
  .
.
To save the newly stored cards, click on  .
.
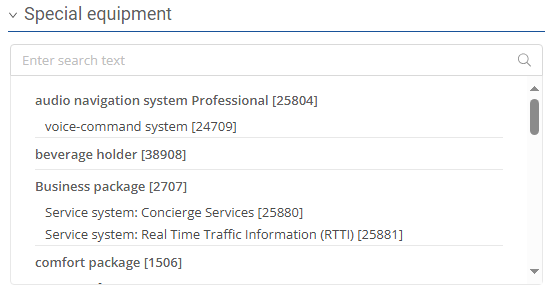
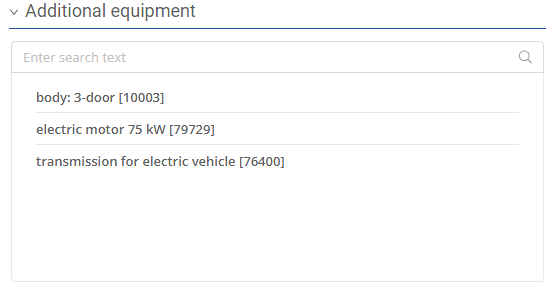
FIN external data:
It is possible to enter the entire standard equipment via the vehicle identification number, completely automatically. This makes it possible, for example, to quickly find the right tire size in the event of damage.


Change log:
The change logs can be viewed here.

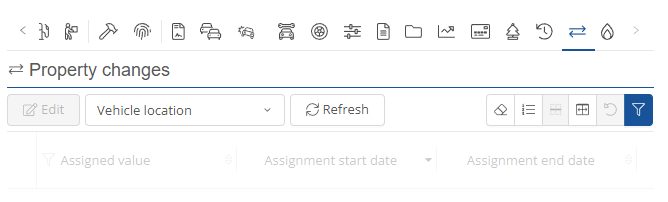
Property changes:
Here, properties can be changed or viewed and assigned times can be viewed, edit or refreshed.
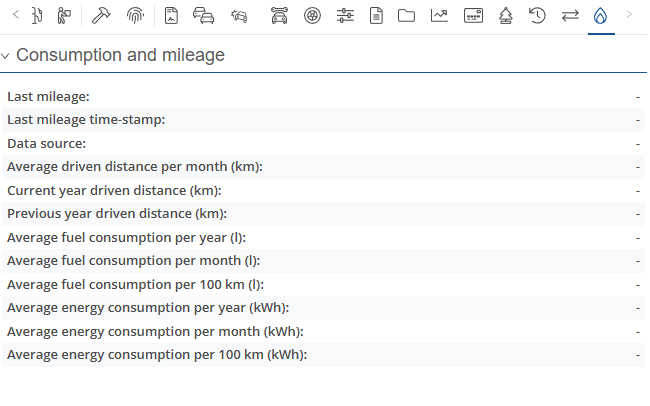
Consumption and mileage:
Consumption and mileage are displayed here, providing an overview.